How it works
Create and update your restaurant menu from your phone.
Bring in your existing restaurant or café menu, review the draft, then publish to one menu link, QR code and website embed. Six steps, with you in control of what goes live.
- 1
Set up your venue
Register with Google or email and apply for the free Pilot plan. Once approved—or invited—add your venue details, with AI help from your website or by hand.
- 2
Bring in your menu
Upload a text-based PDF or Word (.docx) file with AI assistance, or enter your dishes manually. Image-only files and scans are not supported.
- 3
Review the draft
Check prices, options and dietary labels against your original. AI suggestions are not automatically correct.
- 4
Add photos
Add dish photos and your logo from your phone whenever you like.
- 5
Save, preview and publish
Save your draft, preview privately, then publish when you’re ready. Saving alone never changes diners’ menus.
- 6
Share the link
Use one menu link, QR code or website embed. Later changes appear in the same places once published.
An easier first menu
Your menu is already written. Start there.
Skip retyping your whole menu. Upload your PDF or Word file and let AI organise dishes, categories, descriptions and prices into an editable draft.
Check the details, make any changes and preview your menu. Publish when you’re happy. Prefer to start fresh? You can build it yourself.
Upload. Check. Publish. Share.
Use the format you already work with
PDF
Upload your existing menu PDF. A clear document with selectable text works best.
Microsoft Word
Upload your .docx menu document—no need to copy and paste every dish.
Google Docs
Choose File → Download → PDF Document or Microsoft Word (.docx), then upload the downloaded file.
Microsoft Publisher
Save or export your menu as a PDF, then upload it. Publisher (.pub) files cannot be uploaded directly.
Clear, readable documents work best. Check AI suggestions, especially prices and dietary details, before publishing. Add photos and your logo separately whenever you’re ready.

Photos and logos
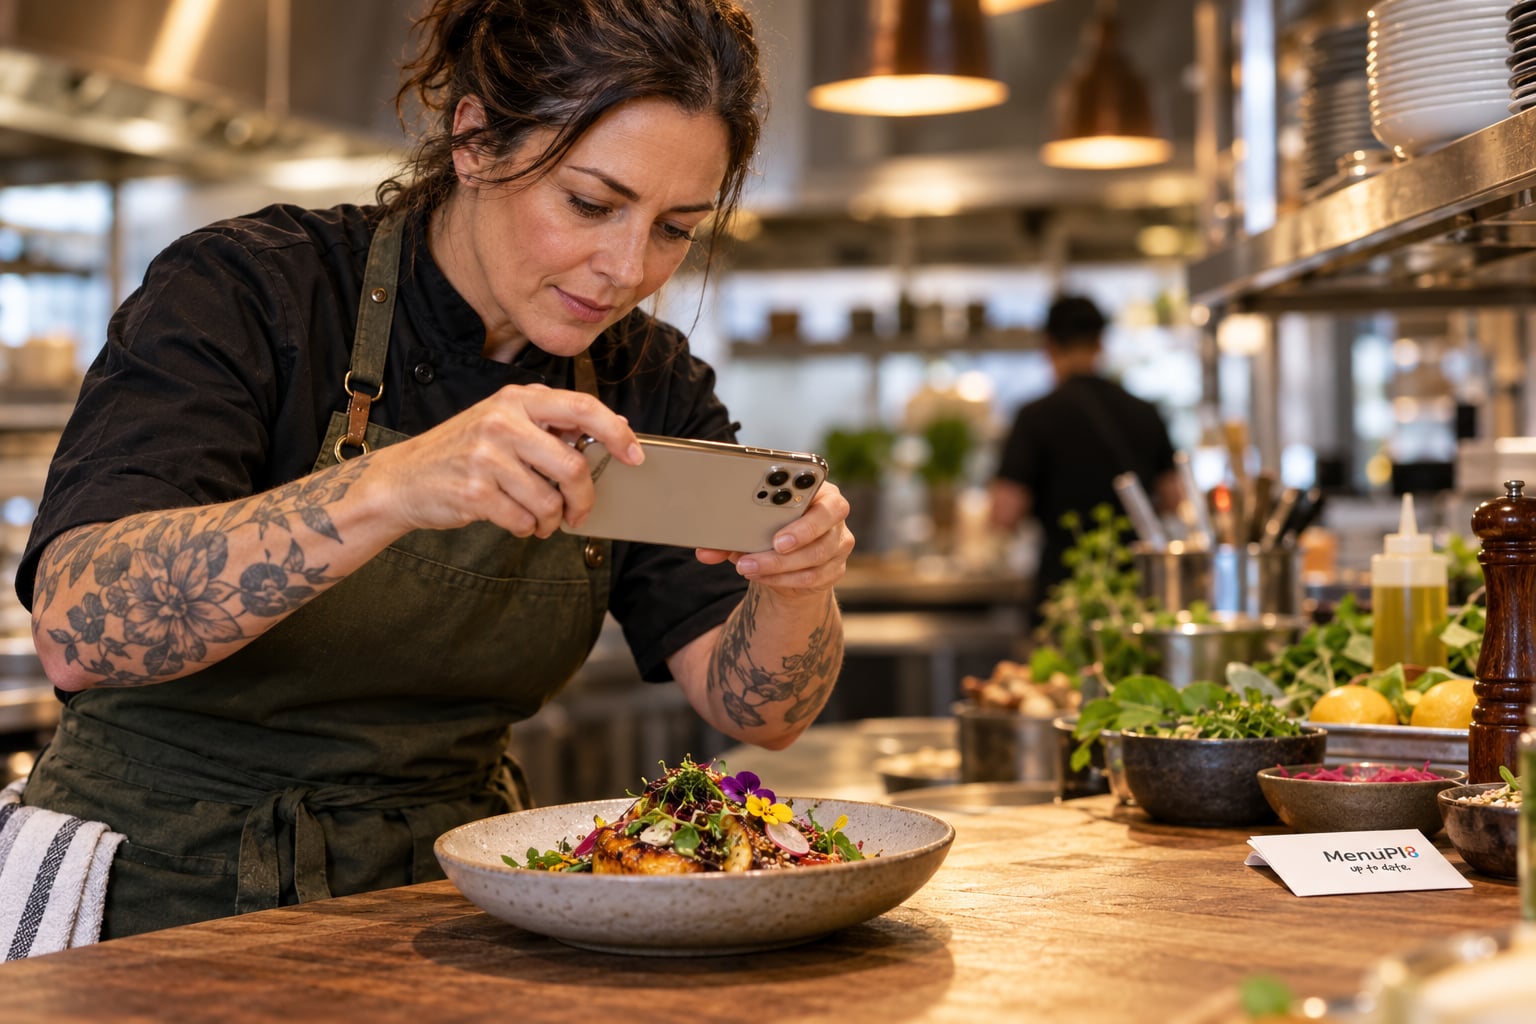
Add photos, straight from your phone
Take a dish photo on your phone, upload it to your menu and publish. Add new photos or replace old ones whenever you like.
You don’t need photos or a logo to get started. Publish your menu text first and add images later if you prefer. Save your changes, preview how they look, then publish when you’re ready.
In practice
Quick changes, even during service.
- 1
Start with the menu you have
Upload your PDF or Word (.docx) menu, check it and publish. Share your menu link or QR code so diners can start browsing.
- 2
Live on the night
Run out of fish? Supplier let you down? Toggle the dish off, save and publish. Diners see your updated menu in the same locations.
- 3
Blackboard specials
Add today’s dishes, prices and photos to a “Blackboard specials” menu. Save and publish so patrons can check today’s board from their phones.
Manage blackboard specials with the same menu editor.
How publishing works
One menu. Share it everywhere.
Update in one place, save and publish. Your website embed, menu links and QR code all give diners the latest version.
1Edit
Change a dish, price or photo.
2Review
See how it looks privately.
3Save
Keep your updated draft.
4Publish
Make your changes live.
One live menu
Your latest published menu, ready to browse.
On your website
Embed your menu inside your site. It fits the available space, without repeating your logo, header or footer.
On your social profiles
Add your menu link to your Instagram bio or Facebook profile so customers can open your published menu.
Around your venue
Put your menu QR code on table cards, stickers and flyers. The same code opens your menu after you publish a change.
In messages and email
Include your menu link in messages, emails and booking confirmations.
Menu links, QR codes and embeds show your latest publication. Printed dish details and uploaded social images don’t update automatically.
For diners
A better menu experience for diners
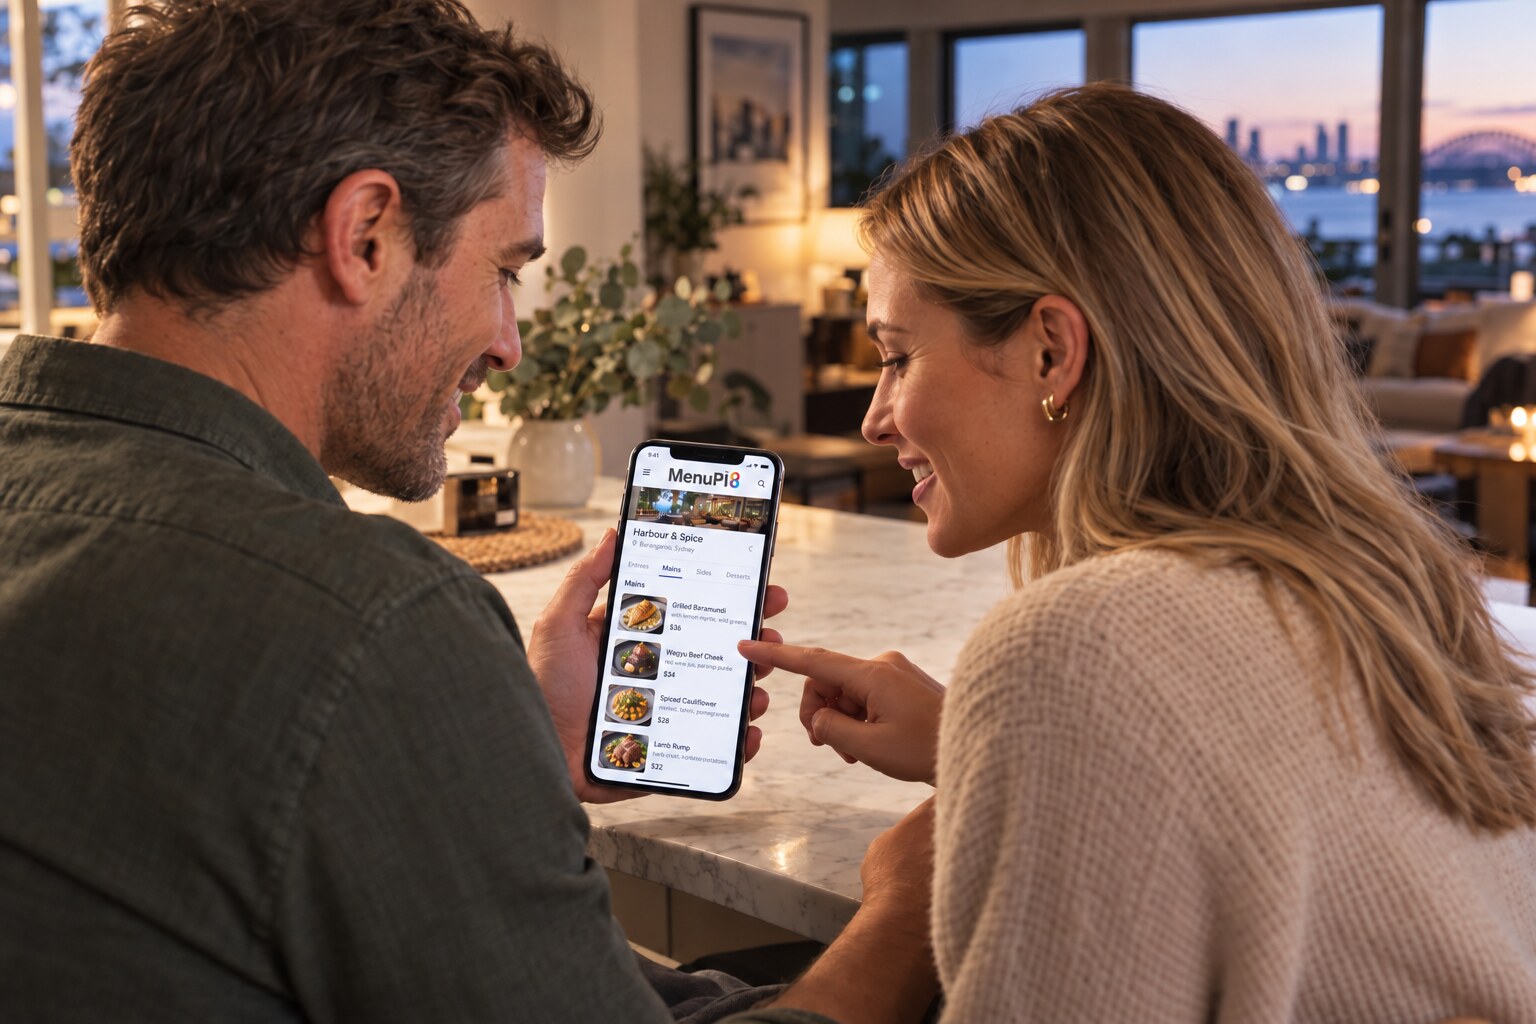
Give diners a menu they can actually browse—not a PDF to pinch and zoom. They can explore dishes before arriving or check your latest published menu at the table.
Tap, don’t pinch
Clear text and categories made for phone screens—not a static file to shrink and zoom.
Browse one dish at a time
Open a dish for photos, prices and descriptions where added, then move to the next or previous dish.
Plan before you arrive
Browse at home or at the table. You’re viewing the latest menu the restaurant has published.
Italiarno’s is a fictional demonstration venue.
Try MenuPl8 as part of our pilot
Register and apply to try MenuPl8 for free. We’ll review your application and email you when it’s approved. Already invited? Register with your invited email to go straight into setup.
Already invited? Use the email address we invited. Not invited? Make an enquiry and we’ll reply to the address you give us.